The Honeywell T6 Pro Smart Thermostat is a Wi-Fi-enabled programmable thermostat designed for energy efficiency and comfort. It offers advanced features like scheduling, geofencing, and smart home integration, making it easy to control your HVAC system remotely. With its intuitive interface and compatibility with most heating and cooling systems, the T6 Pro is a versatile solution for modern homes. Its learning capabilities adapt to your preferences, ensuring optimal performance and energy savings. The thermostat is easy to install, with a UWP mounting system and optional cover plate for a seamless setup. Perfect for smart home upgrades, the T6 Pro enhances convenience and efficiency.
1.1 Overview of the T6 Pro Smart Thermostat
The Honeywell T6 Pro Smart Thermostat is a Wi-Fi-enabled, programmable thermostat designed for compatibility with most HVAC systems. It features a high-resolution color touchscreen and voice control compatibility. The thermostat supports geofencing and smart home integration, allowing seamless control via the Honeywell Home app. With advanced scheduling and energy-saving modes, it optimizes comfort and efficiency. The T6 Pro also includes a UWP mounting system for easy installation and an optional cover plate to hide wall imperfections, ensuring a sleek appearance. Its learning capabilities adapt to your schedule and preferences, enhancing overall performance.
1.2 Benefits of Using the T6 Pro Smart Thermostat
The Honeywell T6 Pro Smart Thermostat offers enhanced energy efficiency, remote control via the Honeywell Home app, and seamless integration with smart home systems like Amazon Alexa. Its geofencing feature automatically adjusts temperatures based on your location, optimizing energy savings. The thermostat is compatible with most HVAC systems and provides a user-friendly interface for easy scheduling. With advanced learning capabilities, it adapts to your preferences, ensuring consistent comfort while reducing energy consumption; These features make it an ideal choice for homeowners seeking convenience, efficiency, and smart home integration.

System Requirements and Compatibility
The Honeywell T6 Pro Smart Thermostat requires a C-wire and 24V AC power. It is compatible with most heating, cooling, and heat pump systems but does not support electric baseboard heat (120V-240V). Ensure your HVAC system meets these requirements before installation for optimal performance and functionality.
2.1 Compatible HVAC Systems
The Honeywell T6 Pro Smart Thermostat is compatible with most conventional heating, cooling, and heat pump systems. It supports forced air and hydronic systems, making it versatile for various HVAC setups. However, it is not compatible with electric baseboard heating systems that operate at 120V-240V. The thermostat works seamlessly with standard 24V AC systems and integrates with smart home platforms like Z-Wave for enhanced functionality. Ensure your HVAC system meets these compatibility requirements before proceeding with installation for optimal performance.
2.2 Electrical Requirements (C-Wire, 24VAC)
The Honeywell T6 Pro Smart Thermostat requires a 24V AC power supply, with a maximum current draw of 1A. A C-wire (common wire) is necessary for proper operation, ensuring consistent power delivery to the thermostat. The system is compatible with standard HVAC electrical configurations but is not designed for use with 120V-240V systems, such as electric baseboard heating. Ensure your electrical setup meets these requirements to avoid installation issues and guarantee reliable performance.
Unboxing and Inventory
Upon opening the Honeywell T6 Pro Smart Thermostat package, you’ll find the thermostat unit, UWP mounting system, decorative cover plate, screws, anchors, and installation instructions. Ensure all components are included before proceeding with installation. The optional cover plate is useful for covering gaps from previous installations or mounting directly to a junction box. Verify the contents match the manual’s inventory list to ensure a smooth setup process.
3.1 Package Contents
The Honeywell T6 Pro Smart Thermostat package includes the thermostat unit, UWP (Universal Wall Plate) mounting system, decorative cover plate, screws, and anchors. Additionally, you’ll find installation instructions and a user guide to help with setup. The UWP mounting system ensures compatibility with various wall types and provides a secure installation. The decorative cover plate is optional but useful for concealing gaps from previous installations or enhancing the thermostat’s appearance; Ensure all items are accounted for before starting the installation process.
3.2 Optional Accessories
The Honeywell T6 Pro Smart Thermostat offers optional accessories to enhance installation and functionality. The decorative cover plate is ideal for covering gaps from previous installations or adding a sleek finish. Additionally, a J-box adapter may be used for mounting the thermostat directly to an electrical junction box. These accessories ensure a clean and professional appearance while maintaining compatibility with various installation scenarios. They are recommended for installations requiring extra support or aesthetic customization.
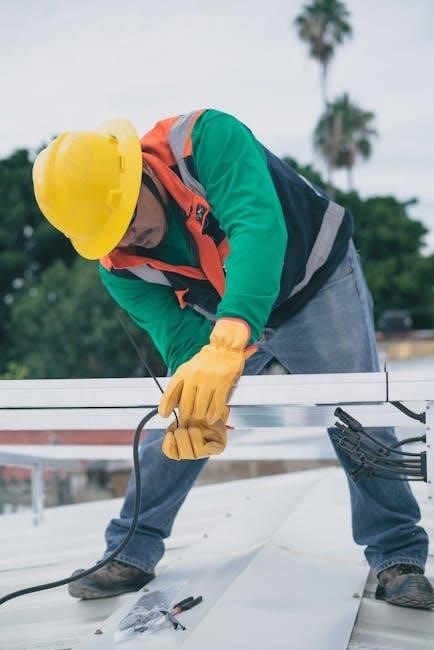
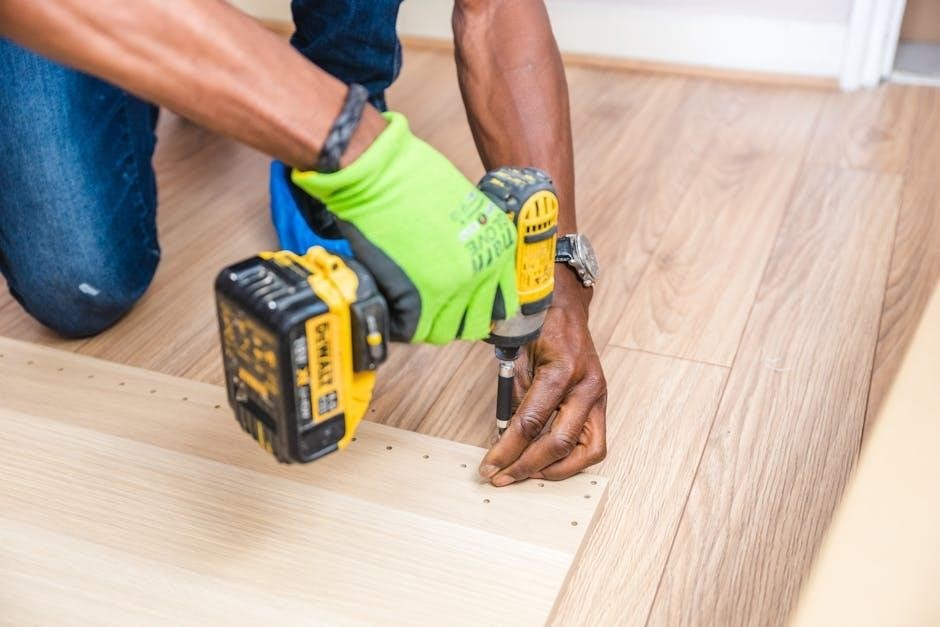
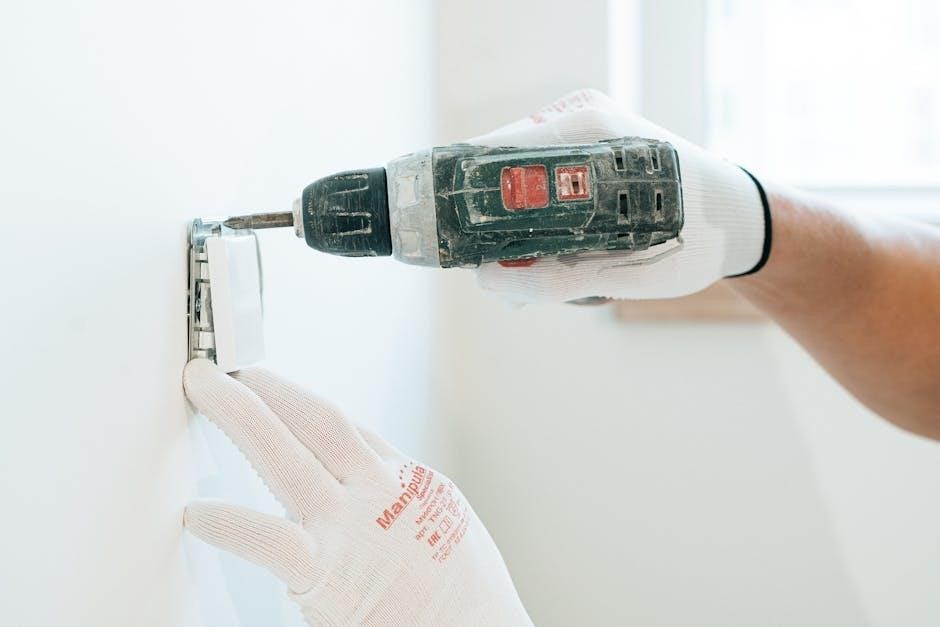
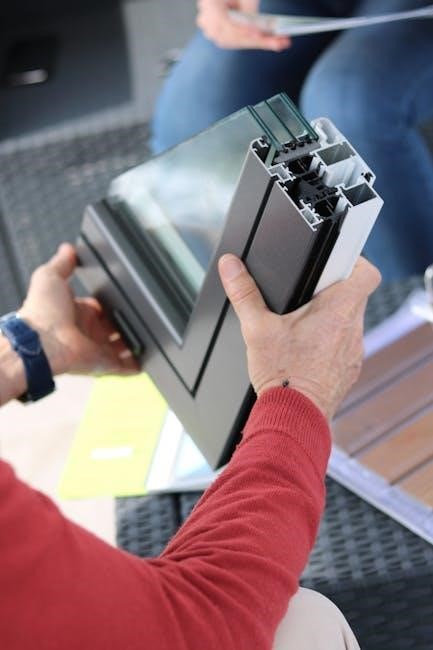
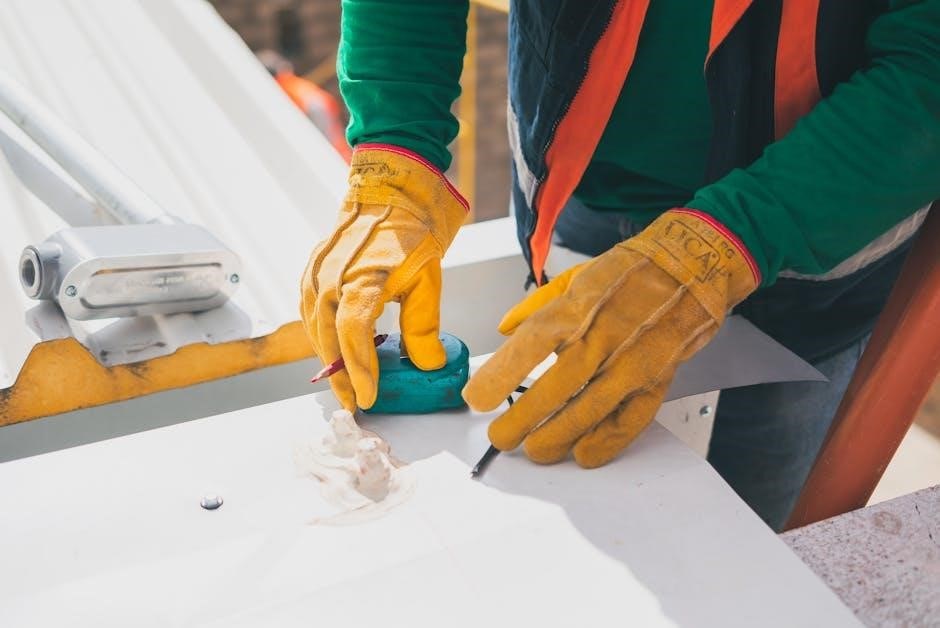
Installation Steps
Installation involves opening the package, positioning the UWP, drilling holes, inserting wires, and tightening screws. The process is straightforward but recommended for professionals for optimal results.
4.1 Pre-Installation Preparation
Before installing the Honeywell T6 Pro Smart Thermostat, ensure the HVAC system is turned off at the circuit breaker. Read the installation manual thoroughly to understand the process. Verify compatibility with your heating and cooling system, ensuring it requires 24VAC power. Gather necessary tools, including a drill, screws, and anchors. Prepare the wall by marking hole positions for the UWP mounting system. Ensure the area is clear and safe for installation. This preparation ensures a smooth and efficient setup process.
4.2 Mounting the Thermostat
Begin by aligning the UWP mounting system with the wall, ensuring it is level. Drill pilot holes at marked positions and insert wall anchors. Secure the UWP using the provided screws, tightening until firm but avoiding over-tightening. If necessary, attach the optional cover plate to conceal any paint gaps or uneven surfaces. Gently pull the thermostat wires through the wiring hole in the UWP. Mount the thermostat onto the UWP, ensuring a snug and even fit. This step ensures a stable and professional installation.
4.3 Final Installation Checks
After mounting, ensure the thermostat is securely attached and level. Verify all wires are correctly connected to their designated terminals. Check that the thermostat powers on and properly connects to your HVAC system. Test basic functionality, such as switching between heat and cool modes. Confirm the device pairs with your Wi-Fi network and responds to app commands. Review geofencing and scheduling features to ensure they activate correctly. Refer to the user manual for troubleshooting any issues. Ensure compatibility with your HVAC system and test smart home integrations if applicable.
Wiring and Configuration
The Honeywell T6 Pro requires a C-wire for 24VAC power and is compatible with most HVAC systems. Ensure proper wiring to terminals like R, W, Y, and C for correct operation. This thermostat is not suitable for 120-240V systems like electric baseboard heating. Always refer to the wiring diagram in the manual to avoid errors during installation.
5.1 Wiring Terminal Designations
The Honeywell T6 Pro Smart Thermostat uses standard wiring terminals, including R (24V power), W (heat), Y (cool), and C (common). Ensure correct connections to avoid system malfunctions. The C-wire is mandatory for 24VAC power. Terminals like G (fan) and O/B (heat pump) may also be present, depending on your HVAC system. Always refer to the wiring diagram in the manual to match your system’s configuration. Proper wiring ensures safe and efficient operation of the thermostat.
5.2 Connecting the Wires
Connect the wires to the Honeywell T6 Pro Smart Thermostat by matching each wire to the correct terminal. Ensure the HVAC system’s power is off before proceeding. The R terminal connects to the 24V power source, while W, Y, and C terminals are for heating, cooling, and common wires, respectively. G (fan) and O/B (heat pump) terminals are optional, depending on your system. Use the UWP mounting system to secure the wires neatly. Double-check all connections to avoid errors and ensure proper system functionality. Follow the wiring diagram in the manual for precise guidance.
Setting Up the Thermostat Using the App
Download the Honeywell Home app, available on the App Store and Google Play, to configure your T6 Pro Smart Thermostat. Use it to set schedules, invite customers, and monitor energy usage remotely, ensuring seamless control over your HVAC system from anywhere.
6.1 Downloading the Honeywell Home App
Download the Honeywell Home app from the App Store (for iOS devices) or Google Play Store (for Android devices). This app is essential for configuring and controlling your T6 Pro Smart Thermostat. Once installed, the app allows you to set up schedules, monitor energy usage, and invite customers to connect to the thermostat. The app also features a hidden PRO installation mode, enabling professionals to configure the thermostat during setup. Ensure your device is connected to Wi-Fi for a smooth installation and operation experience.
6.2 Configuring the Thermostat via the App
Open the Honeywell Home app and select the T6 Pro Smart Thermostat from the list of available devices. Follow the in-app instructions to connect the thermostat to your Wi-Fi network. Once connected, you can customize settings such as temperature set points, scheduling, and geofencing. The app also allows you to enable energy-saving features and view usage reports. Ensure all settings are configured correctly to optimize performance and energy efficiency. This step is crucial for maximizing the thermostat’s smart capabilities and integrating it with your smart home system.
6.3 Inviting Customers to Connect
After configuring the thermostat, open the Honeywell Home app and navigate to the “Invite” section. Enter the customer’s email address to send an invitation. This allows them to access and control the T6 Pro Smart Thermostat via their own app. Ensure the customer accepts the invitation to complete the connection. This feature enables shared management of the thermostat settings, promoting convenience and collaboration between installers and homeowners. Properly inviting customers ensures seamless integration and user satisfaction.

Maintenance and Troubleshooting
Regularly clean the thermostat’s screen and sensors to ensure accurate performance. Check for software updates via the Honeywell Home app to maintain functionality. Troubleshoot issues by verifying wiring connections or restarting the device. Address common problems like lost Wi-Fi connection or temperature inaccuracies through the app’s diagnostic tools or user manual guidance. Proper maintenance ensures optimal operation and extends the thermostat’s lifespan.
7.1 Regular Maintenance Tips
Regular maintenance ensures the Honeywell T6 Pro Smart Thermostat operates efficiently. Clean the touchscreen and sensors periodically to avoid dust buildup. Check for firmware updates via the Honeywell Home app to keep the system up-to-date. Inspect wiring connections to ensure they are secure and undamaged. Replace batteries if applicable, and verify geofencing settings for accuracy. Schedule periodic checks of temperature calibration and HVAC system performance. Regular maintenance prevents issues and ensures consistent comfort and energy savings throughout the year.
7.2 Common Issues and Solutions
Common issues with the Honeywell T6 Pro Smart Thermostat include connectivity problems, inaccurate temperature readings, and unresponsive screens. For connectivity issues, restart the router or ensure stable Wi-Fi. If the thermostat displays incorrect temperatures, check calibration settings or sensor functionality. For an unresponsive screen, restart the device or update firmware. Wiring problems may cause malfunctions; inspect connections and ensure proper setup. Resetting to factory settings can resolve persistent issues. Always refer to the user manual or contact Honeywell support for advanced troubleshooting.

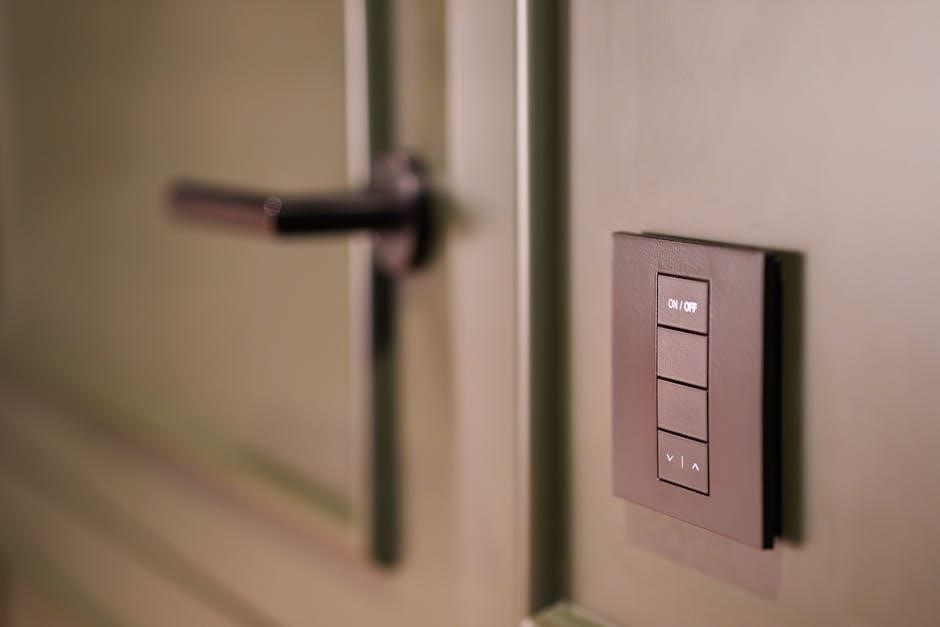
Locking Features
The Honeywell T6 Pro Smart Thermostat offers locking features to secure settings and prevent unauthorized changes, ensuring consistent temperature control in various environments. This feature is especially useful in commercial or shared spaces, maintaining desired settings effortlessly.
8.1 How to Lock the Thermostat
To lock the Honeywell T6 Pro Smart Thermostat, navigate to the settings menu on the device. Select the “Lock” option and press the “Select” button to activate it. This feature prevents unauthorized changes to temperature settings, ensuring consistent control. The lock can be enabled or disabled as needed, providing flexibility for different environments. This security feature is particularly useful in commercial or shared spaces to maintain desired settings without interference.
8.2 Unlocking the Thermostat
To unlock the Honeywell T6 Pro Smart Thermostat, access the settings menu and select the “Unlock” option. Enter the four-digit PIN when prompted to confirm the action. This ensures only authorized users can adjust settings, maintaining control over your HVAC system. The unlocking process is straightforward and quick, allowing you to regain full access when needed. This feature is ideal for securing your preferences while still enabling easy adjustments for authorized individuals.
Advanced Settings
The Honeywell T6 Pro offers customizable temperature set points and scheduling options, allowing users to tailor their comfort preferences. Advanced features enhance energy efficiency and system control.
9.1 Customizing Temperature Set Points
Customizing temperature set points on the Honeywell T6 Pro Smart Thermostat allows users to define preferred heating and cooling ranges. This feature ensures optimal comfort while maintaining energy efficiency. Through the Honeywell Home app, users can easily adjust minimum and maximum temperature limits for both heating and cooling modes. Additionally, custom set points can be integrated into schedules, enabling seamless automation. This flexibility helps users balance their comfort needs with energy-saving goals, making the T6 Pro a versatile and efficient solution for smart home temperature control.
9.2 Scheduling and Automation
The Honeywell T6 Pro Smart Thermostat offers advanced scheduling and automation features, allowing users to create custom temperature schedules tailored to their daily routines. Through the Honeywell Home app, users can set specific temperature profiles for different times of the day or week. Geofencing capabilities enable the thermostat to adjust temperatures based on the user’s location, saving energy when no one is home. Additionally, the T6 Pro learns and adapts to user preferences, automatically optimizing heating and cooling cycles for maximum comfort and efficiency. Smart home integration further enhances automation, ensuring seamless control via voice commands or other smart devices.
Energy-Saving Features
The Honeywell T6 Pro Smart Thermostat offers geofencing, smart home integration, and learning capabilities to optimize energy use, reducing waste and lowering utility bills effectively.
10.1 Learning Capabilities
The Honeywell T6 Pro Smart Thermostat features advanced learning capabilities that adapt to your heating and cooling preferences over time. By analyzing your system’s performance and temperature adjustments, it optimizes energy use and ensures comfort. The thermostat learns how long it takes for your system to reach the desired temperature, adjusting operations to meet your schedule and preferences precisely. This intelligent feature minimizes energy waste and enhances efficiency, making it a standout option for smart home integration and energy-conscious users.
10.2 Geofencing and Smart Home Integration
The Honeywell T6 Pro Smart Thermostat supports geofencing, automatically adjusting temperatures based on your location. Using your smartphone’s GPS, it detects when you leave or approach home, optimizing energy use. It seamlessly integrates with smart home systems like Amazon Alexa and Google Home, allowing voice control and centralized management. This feature enhances convenience and energy savings, ensuring your home is always comfortable while minimizing unnecessary heating or cooling when you’re away.
The Honeywell T6 Pro Smart Thermostat offers a seamless blend of energy efficiency, advanced features, and user-friendly design, enhancing home comfort and simplifying climate control.
11.1 Final Thoughts on Installation
Installing the Honeywell T6 Pro Smart Thermostat is a straightforward process, especially with the UWP mounting system and clear instructions provided. Ensure all electrical requirements are met, and consider professional help if unfamiliar with HVAC systems. Proper installation guarantees optimal performance, energy efficiency, and seamless smart home integration. Follow the manual carefully, and use the Honeywell Home app for final setup to maximize the thermostat’s advanced features and benefits.
11.2 Importance of Proper Installation
Proper installation of the Honeywell T6 Pro Smart Thermostat is crucial for ensuring system compatibility, energy efficiency, and optimal performance. Incorrect wiring or setup can lead to malfunctions or safety hazards. Adhering to the installation manual guarantees seamless integration with your HVAC system and unlocks advanced features like scheduling and geofencing. Improper installation may void warranties or cause premature wear, so following guidelines carefully is essential. If unsure, consulting a professional ensures reliability and safety, maximizing the thermostat’s benefits for your home.
Support and Resources
For assistance, visit Honeywell’s official website to access user manuals, troubleshooting guides, and contact support via phone, email, or live chat for expert help.
- Download User Manuals
- Contact Honeywell Support
12.1 Accessing User Manuals
Access comprehensive user manuals for the Honeywell T6 Pro Smart Thermostat on the official Honeywell Home website or through the Honeywell Home app. These manuals provide detailed installation, operation, and troubleshooting guides to ensure optimal use of your thermostat. Simply visit the support section, enter your model number, and download the PDF manual. This resource is essential for understanding advanced features, resolving issues, and maximizing energy efficiency. Regularly updated, these manuals are your go-to guide for maintaining and upgrading your smart thermostat system.
12.2 Contacting Honeywell Support
For assistance with the Honeywell T6 Pro Smart Thermostat, contact Honeywell Support directly through their official website or the Honeywell Home app. Visit the support section, where you can find troubleshooting guides, FAQs, and contact options. Provide your model number and details about your issue for efficient assistance. Honeywell’s dedicated team is available to resolve installation, configuration, or operational issues, ensuring your thermostat functions optimally. Reach out via phone, email, or live chat for prompt support.